How to Eat Cherimoya
The cherimoya is a tropical fruit native to South America. The fruit has a tough, green outer rind and a white, creamy interior. The texture of the cherimoya is similar to custard, or avocado. The sweet and slightly tart flavor has been described as a cross between a papaya, mango, banana, lemon, passionfruit and pineapple. Cherimoya is a versatile fruit and the methods for eating cherimoya are only limited by your imagination.
Cut the cherimoya in half lengthwise and eat the flesh out of the fruit with a spoon. Spit out and discard the seeds.
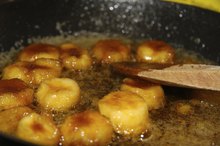
How to Saute Bananas
Learn More
Cut the cherimoya in half and put it face-down on a greased cookie sheet. Bake the cherimoya at 400 degrees Fahrenheit for 15 minutes, or until the flesh turns golden brown. Eat it straight from the rind or scoop the flesh into a bowl. You can also heat the cherimoya on the barbecue grill 1.
Scoop the interior into a bowl and remove the seeds with a spoon. Cover the bowl with plastic wrap and freeze for one to two hours. Eat it like ice cream.
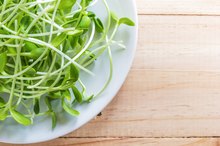
How to Eat Broccoli Sprouts
Learn More
Remove the interior and separate the seeds. Cut the interior into cubes and mix it into a salad with other tropical fruits, such as banana, pineapple and mango.
Cut the flesh into cubes and serve it over waffles or pancakes. Add a dollop of Greek yogurt or whipped cream and sprinkle with cinnamon and nutmeg. You can also puree the cherimoya in a blender and add it to the batter.
Freeze the flesh. Blend it into a smoothie with other fruits such a strawberries, avocado and blueberries. You can also use the frozen flesh to make a sorbet either alone or with other fruits.
Related Articles
How to Saute Bananas
Learn More
How to Eat Broccoli Sprouts
Learn More

How Do I Make Mini Puff Pastry Shells?
Learn More
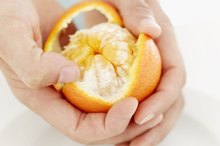
How to Ripen Oranges in the Microwave
Learn More
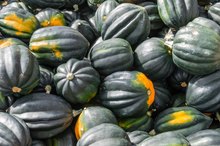
Can You Eat Acorn Squash Seeds?
Learn More
How to Grate Orange Rinds
Learn More
How to Keep Sliced Avocados From Turning Black
Learn More

How to Cook Watercress
Learn More

Can I Eat Prosciutto Ham Without Cooking It?
Learn More
How to Make Molasses With Sugar Beets
Learn More
References
Writer Bio
Max Whitmore is a personal trainer with more than three years experience in individual and group fitness. Whitmore has a Bachelor of Arts in English literature from the University of Cincinnati, fitness certifications and dietetics training from Cincinnati State Technical and Community College. Whitmore has written for several online publishers.