
Athletic Tape Vs. Other Tape
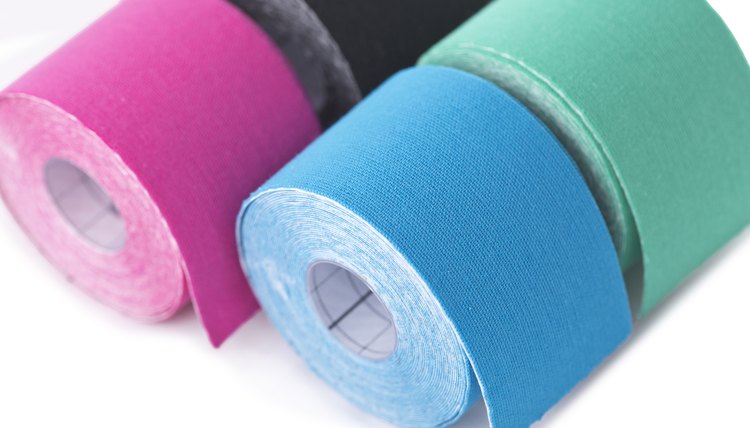
Athletic tape is a type of medical tape used for preventive or supportive taping and bracing. You can use athletic tape safely on most parts of the body. Tape comes in a variety of colors, widths, tensile strengths, materials and shapes, depending on its purpose. Athletic tape assists and supports injured or weak areas of the body, so its materials, function and availability differ from those of traditional tape.
What is the function of the tape?
Patricia Chumillas Rodriguez/iStock/Getty Images
All-purpose tape and sports tape have similar basic functions but operate at very different levels. All-purpose tape can be light like scotch tape or strong like duct tape. All-purpose tape works on a variety of surfaces. On the other hand, you apply athletic tape directly to the body to support injured areas. You can use athletic tape to assist in the healing of sprains, strains and contusions; it can offer additional support and/or limit the range of motion of injured bones and joints.
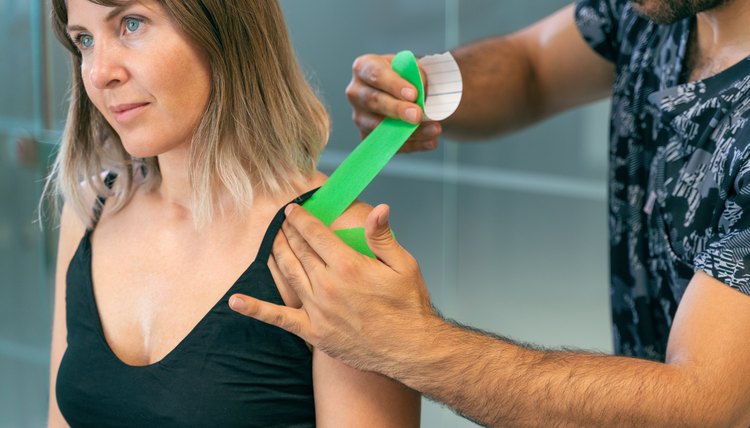
What are the benefits of Athletic Tape?
Patricia Chumillas Rodriguez/iStock/Getty Images
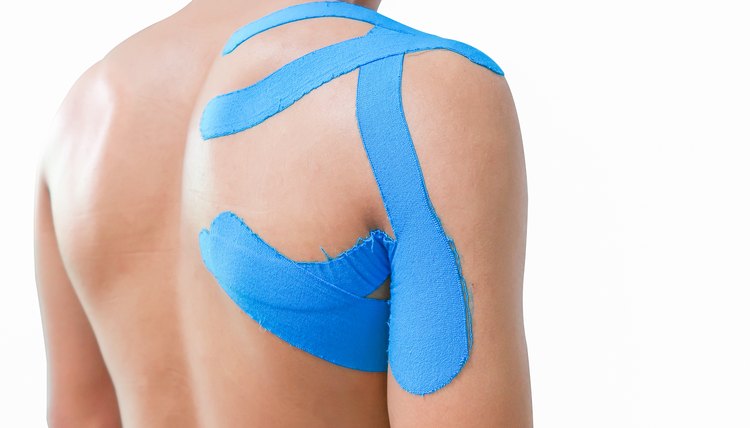
Unlike all-purpose tape, athletic tape can follow the contours of certain body parts. The correct use of athletic tape will prevent cuts and blisters to the injured area. Athletic tape also can help prevent future sports injuries by adding support to a weak or injured joint or muscle. You can use athletic tape in combination with rehabilitation to stabilize an area while allowing for controlled movement to strengthen the injured area. Athletic tape is porous and breathable. You can apply athletic tape in virtually any configuration, depending on the injury.
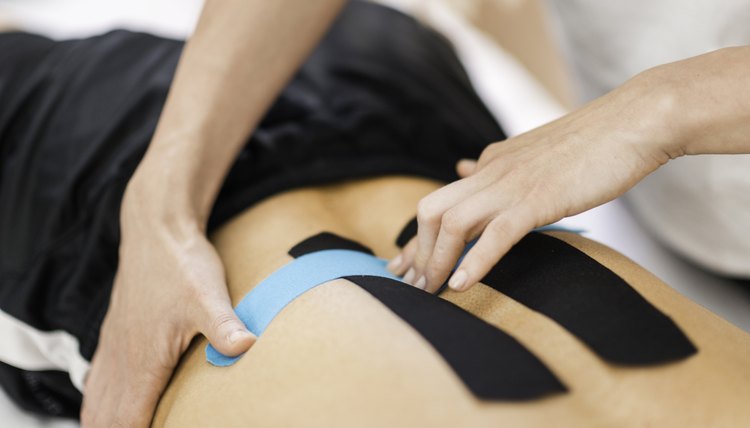
What are the types of athletic tape?
Patricia Chumillas Rodriguez/iStock/Getty Images
Athletic tape can be elastic and inelastic. Nonelastic white tape usually comes in widths of 1/2 inch, 1 inch, 1-1/2 inches and 2 inches. Non-elastic tape is porous, and you usually use it to support and stabilize injuries to joints and bones. Elastic tape comes in widths ranging from 1/2 inch to 6 inches. Elastic tape offers less support and is more giving than white tape. You often use elastic tape on muscles or over larger areas of the body. Elastic tape is more stretchy and allows for greater movement during sports activity and increased circulation and blood flow to the area for pain relief. Elastic tape can be non-stick or self adhesive, and it can come in different tensile strengths.
Athletic tape is not usually waterproof, but you can order special tapes for water-based sports. Kinesiology tape or kinesio tape, is a popular waterproof tape used by Olympic swimmers.
Distributors
You can buy athletic tape online in bulk through sports medicine distributors such as Collins Sports Medicine, Cramer, Meuller or Medco. You also can buy athletic tape in smaller quantities at local sporting good stores and drugstores. Athletic tape is more costly than all-purpose tape. Common brands include Zonas, Cramer, and Johnson and Johnson. Athletic tape is also available at many chiropractor offices and physical therapy locations.
Warnings
You should never use athletic tape without first consulting with a health professional or physical therapist. Athletic tape can decrease circulation and could result in further injury. Do not attempt to replace athletic tape with duct tape or another highly adhesive tape or product. Tape application should be done by an athletic trainer or other health professional. For those with latex allergies, be sure to use a hypoallergenic latex-free tape to prevent skin reactions.
References
Writer Bio
Kristen McCarty started writing wellness articles for students and faculty in 2007. She has worked as a certified athletic trainer and health educator at the collegiate and secondary school levels. She now writes for LIVESTRONG.COM. She holds a Bachelor of Science in sports medicine concentrating in athletic training from Mercyhurst College and a Masters of Arts in applied physiology from Teachers College-Columbia University.