
How to Install Chain Basketball Nets
Chain nets, especially when covered in extra nickel plating, are far less affected by harsh weather conditions and generally last much longer than regular nylon nets, making them ideal for outdoor basketball courts. Installing a chain basketball net is relatively simple and can be accomplished by following a few simple steps.
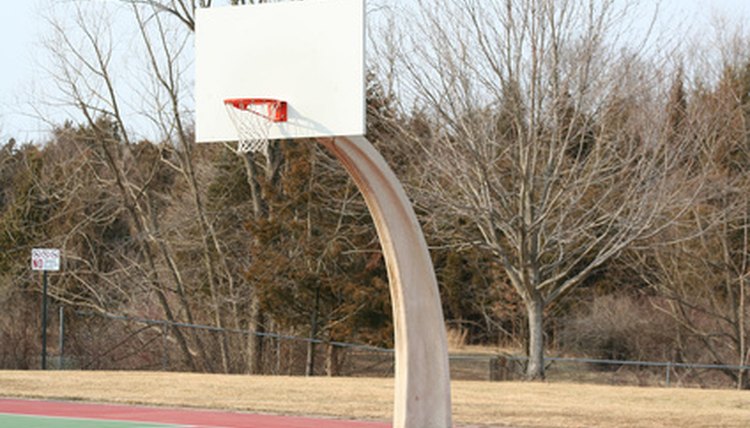
Obtain a chain basketball net that is sized to fit your basketball hoop. A chain net made for a regulation steel rim will feature 12 loops; a regulation rim measures 54 inches.
Identify the loops at the top of the chain basketball net. Generally, these loops will be slightly larger than the regular chain links.
Slide the first loop over the first basketball hook. Positioning a specific loop on a specific hook does not matter.
Slide the remaining loops over the remaining hooks, one by one, in proper order. If you get to the end and realize that you don't have enough chain net left, chances are you missed a loop somewhere along the way.
Test the net by shooting a basketball through it several times.
References
Writer Bio
Sarah Jackson has been writing freelance for almost four years, the majority of her work being featured on Adventure Journey, an online travel publication. She is currently in her final year of her M.S.W. degree at Temple University, with a B.S. degree from BYU.