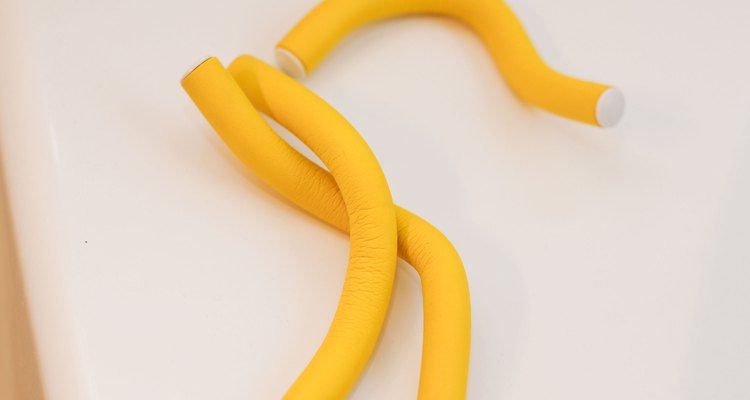
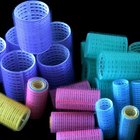
Foam rollers -- soft, cushion-like foam and a plastic rod and clip that secure the hair -- are gentler on your hair than many other styling tools. They don't use heat to curl the hair, and the foam is unlikely to snag or damage your hair. They're also more comfortable than hard rollers. Start with clean, fully dry hair and plenty of time for the hair to set. Setting your hair at night and sleeping with the rollers will give you long-lasting curls.
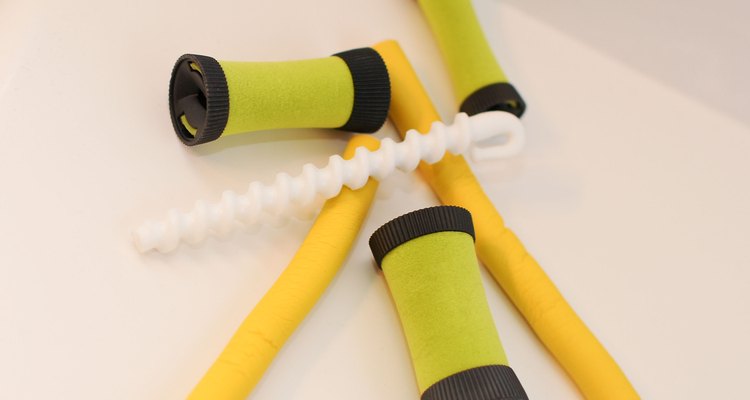
Select rollers based on the type of curl you want. As a general rule, the larger the curler, the larger the curl.
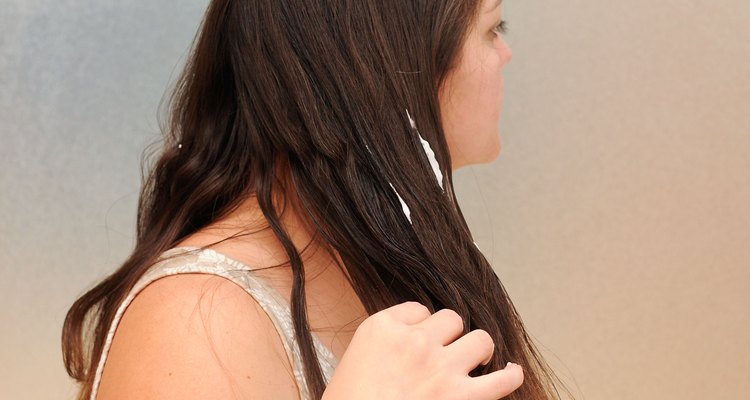
Apply a setting lotion to your hair. A setting lotion helps to alter the hair structure without heat to ensure a strong curl.
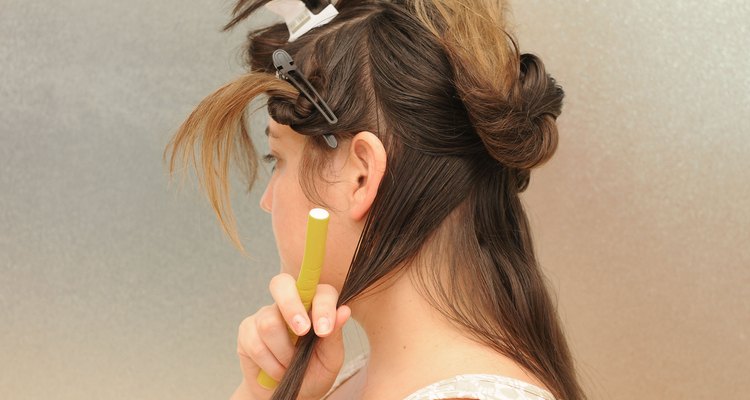
Clip your hair into sections. This makes it easier to put rollers in the bottom portions of your hair. Create a top section first, and then separate the sides and bottom layers.
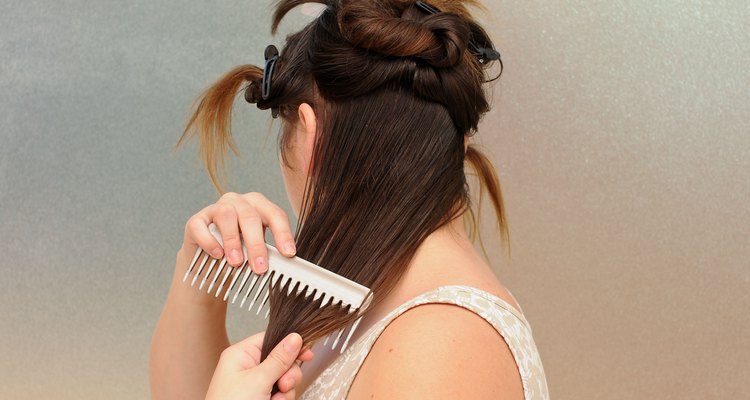
Comb through a section of your hair at the base of your scalp. Comb until the section is smooth and without tangles.
Separate the hair into 1- to 2-inch sections.
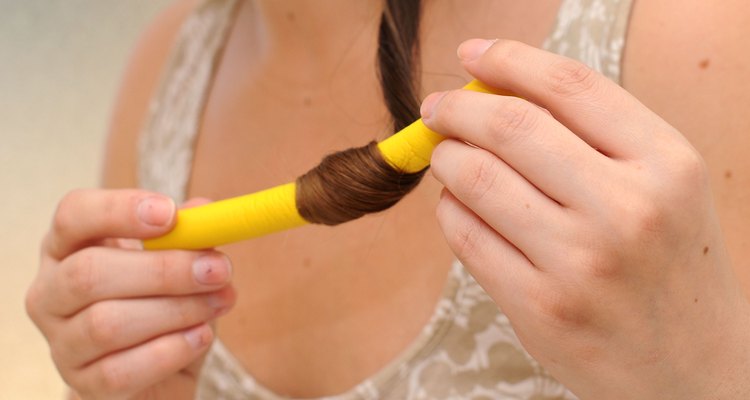
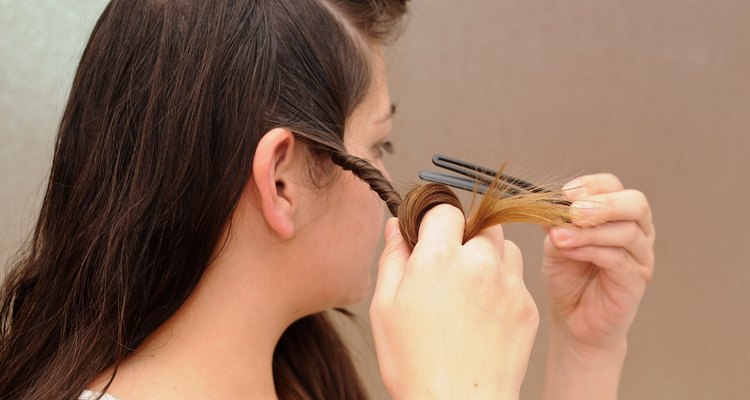
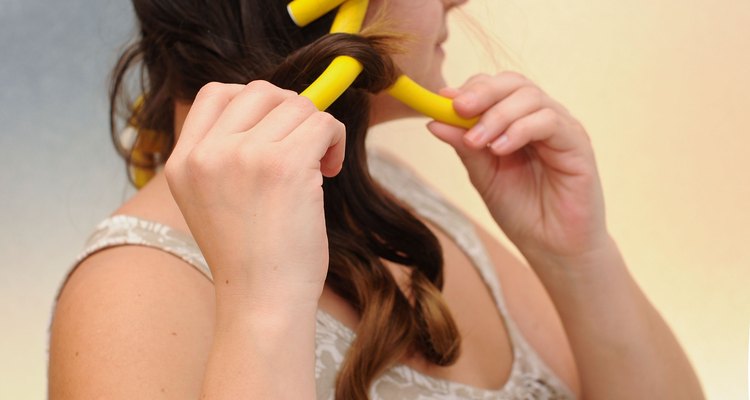
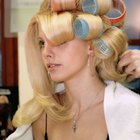
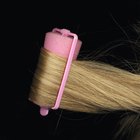
Pick up a curler and place it at the bottom of a section of hair. Roll the roller up to the scalp; snap the clasp on the roller closed. If you are having a hard time getting the end to stay, begin in the middle of the hair, and then twist the hair around the roller. If you want more hold, spray the section with hairspray.
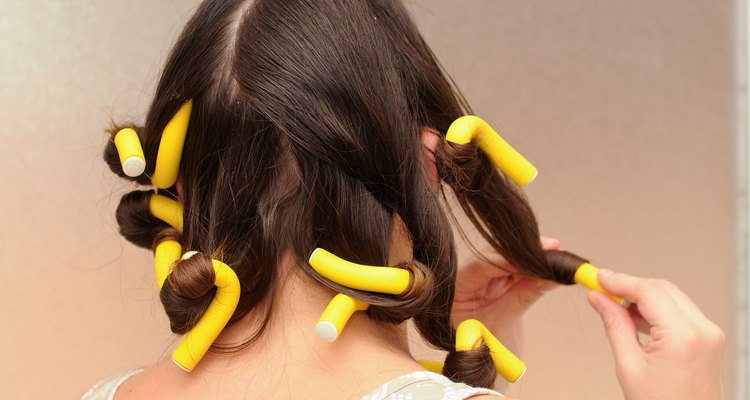
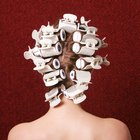
Repeat throughout each section, leaving the top for last. Allow the hair to set for several hours or overnight.
Unhook the clasps on the rollers and unroll your hair.
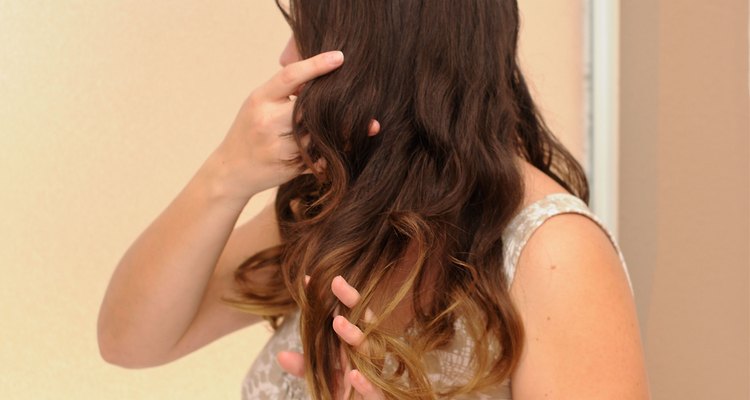
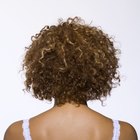
Spray hairspray on your hair to further strengthen the hold. Gently run your fingers through your hair to shake the curls loose.
Related Articles
How to Avoid Crimps with Curling Irons
How to Make a Straight Wig Curly
How to Straighten Hair Without Blow ...
How to Avoid Curling Iron Creases in ...

How to Get Curls to Stay in Fine Hair

How to Do Pinup Curls

How to Create Spiral Curls With a ...
How to Use Velcro Rollers So They Don't ...

How to Reduce Frizz in Permed Hair
How to Remove Hair Stuck in Hair Curlers

How to Get Tight Curls for a Straight ...

How to Straighten Your Weave
How to Get Ringlet Curls

How to Perm Curl the Roots of Hair

How to Blow-Dry Hair Straight With a ...
How to Use Sponge Rollers to Make Cheer ...
How to Get Curls Right Near Your Roots

How to Relax a Perm With Home Remedies
How to Use Hair Rollers for Short Hair

How to Curl Medium Layered Hair
References
Writer Bio
Rachel Nall began writing in 2003. She is a former managing editor for custom health publications, including physician journals. She has written for The Associated Press and "Jezebel," "Charleston," "Chatter" and "Reach" magazines. Nall is currently pursuing her Bachelor of Science in Nursing at the University of Tennessee.
Photo Credits
Stephanie Loaiza/Demand Media