
How to Tape Wrists for Gymnastics
The bars are killer on a gymnast’s hands and wrists; that’s why routines last less than a minute. “Even if you had the strength and endurance to stay up there longer than a minute, you couldn’t because your hands would burn up,” says United States Olympic coach Don Peters in the book “Gymnastics.” Beyond the burn, gymnasts can suffer from what’s commonly called “gymnast wrist,” an inflammation in the forearm bone where it connects the hand to the wrist. Taping your wrists is one way to reduce the burn and your chance of injury.
Wash your hands and wrists, because grease and sweat can interfere with the tape’s adhesive ability.
Hold your left hand out with your palm up and your fingers extended, and bend your wrist back no more than 30 degrees.
Stick the tape to the palm of your hand, just below your fingers, and wrap it around your hand. The tape should be tight enough to offer support not restrict blood circulation.
Wrap a new piece of tape around your wrist once.
Start a new piece of tape on the back of your wrist, below your thumb. At an angle, wrap the tape up so the inside edge of the tape is along the bottom of your pinky finger. Loop the tape around the front of your palm so it goes around your pinky and angles down to your thumb. You should have half an X on either side of your hand.
Wrap a new piece of tape on the back of your wrist, starting below the pinky and angling up between the thumb and index finger. Continue wrapping the tape back down to your wrist so you now have an X on the front and back of your hand.
Tape your right hand following the same method shown in Steps 1 to 6.
Tips
For added support, you can tape an additional X configuration on the hands.
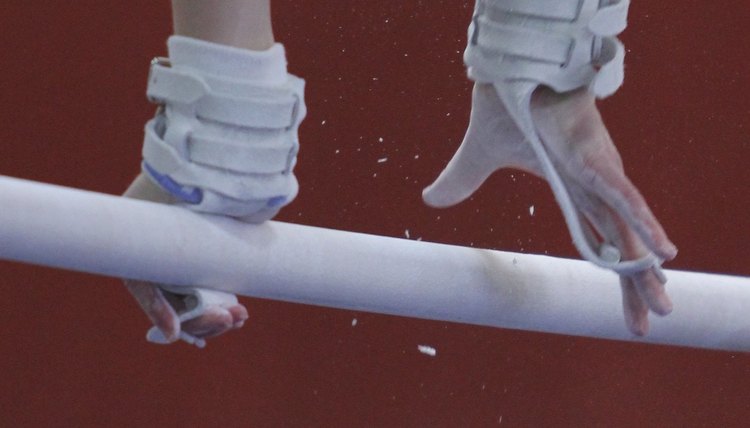
Getting used to the bars with tape on your hands and wrists takes time. Your hands will feel a little restricted at first, but adjusting to tape is minor compared to adjusting to grips later in your gymnastics career.
References
- "Gymnastics"; Dan Gutman; 1996
- Children's Memorial Hospital Institute for Sports Medicine: Gymnast Wrist (Distal Radial Epiphysitis)
- PhysioAdvisor.com: Wrist Taping
- "The Practical Guide to Athletic Training"; Ted Eaves; 2010
- Won SH, Lee S, Chung CY, et al. Buddy taping: is it a safe method for treatment of finger and toe injuries?. Clin Orthop Surg. 2014;6(1):26-31. doi:10.4055/cios.2014.6.1.26
Writer Bio
Ivy Morris specializes in health, fitness, beauty, fashion and music. Her work has appeared in "Sacramento News and Review," "Prosper Magazine" and "Sacramento Parent Magazine," among other publications. Morris also writes for medical offices and legal practices. She holds a Bachelor of Arts in government-journalism from Sacramento State University.