
How to Build a Sliding Heavy Bag
The two most common ways people mount their heavy bags are by driving a bolt into the ceiling so it is solid in a rafter or joist, or by purchasing a heavy bag stand. Both those options do not allow the bag to slide at all, so if that is what you are looking for, you will need a little creativity and some handy skills to build a sliding mount for your heavy bag using parts you can find at a home improvement store.
Ceiling Track
Find the ceiling joists so you will be installing the mount into solid wood. If you are installing your bag in a garage, basement or attic, the joists might be exposed, but otherwise use a stud finder, or use a hammer and nail to punch holes through the ceiling until you find something solid.
Mount the garage/barn door track to the ceiling, driving lag screws into the ceiling with a screw gun. Drive as many screws as necessary for the particular mounting system for the tracks.
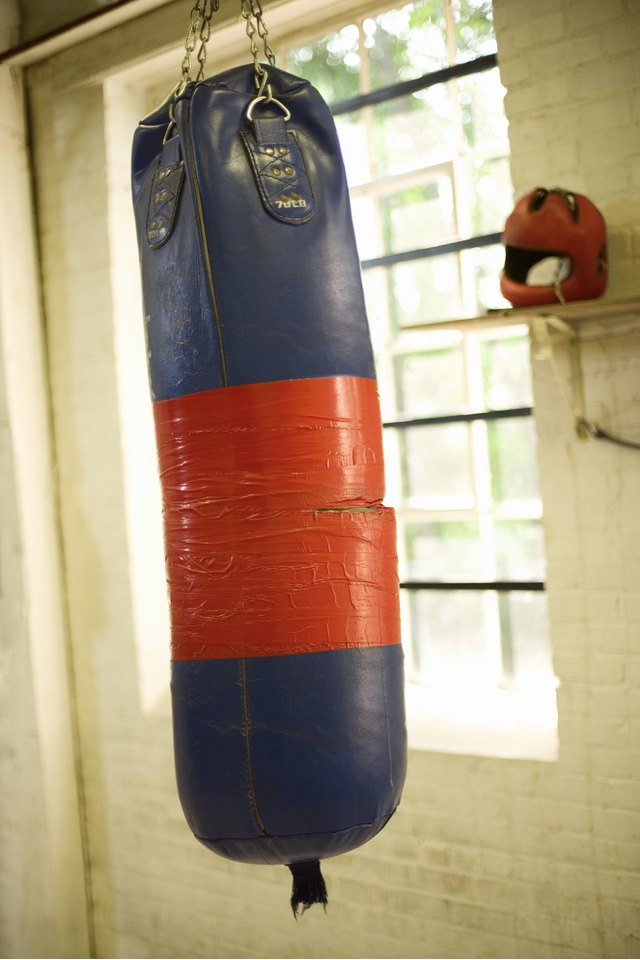
Attach the heavy bag to the roller or trolley. You might have to modify the roller by drilling through the center of it and attaching an eye bolt with washers and nuts, or find one that requires little to no modification.
Slide the roller into the track. If the bag is too heavy to manipulate, put the roller in its track before you attach the bag.
Drill through both ends of the track and attach a locking pin, or a bolt long enough to span the gap for the roller. These bolts will prevent the bag from sliding off the track when in use.
Slide the roller to a comfortable position along the track and mark either side of the roller. Drill holes at those marks and insert locking pins. The pins will keep the bag from sliding along the track and though there may still be some lateral movement, it will be minimal. This is necessary if you do not want the bag to be able to slide during use.
Cable
Attach an eye bolt at two points along the ceiling, or high up on the wall. Drive the bolts into a stud or joist so they are secured solidly.
Mount a wire rope to the eye bolts and pull it as tight as possible. If you only need the bag to slide a short distance, consider mounting a cable the length of the room but include more eye bolts along the ceiling to reduce sagging.
Mount a pulley or roller on the wire rope. This will give the heavy bag a track and sliding system.
Mount the bag to the roller or pulley. Enjoy using your sliding heavy bag.
Tips
The cable roller option is a quick-fix solution that may need to be adjusted frequently to maintain, or increase, the tension in the wire rope.
References
Writer Bio
Tom Williamson has a degree in English with a concentration in writing and a minor in communication studies. He has written for many online publications, including sports blogs, a mental health website and music websites. He wrote five scripts for an online Web show called surewinner.tv. He also writes for Gather.com.