
How to Count Reps
Counting repetitions is a great way to keep track of your progress in a given exercise. In fact, most trainers recommend people keep a record of certain information, like exercises performed, repetition and set count, weight lifted, and total workout time. Keeping track of these variables lets you test which exercises work and helps you build the ultimate routine based on the individual needs of your body.
Make a list of each exercise you will perform during the workout. Leave some space to jot down how many repetitions you performed, along with some other details such as how much weight you lifted or how long the set lasted.
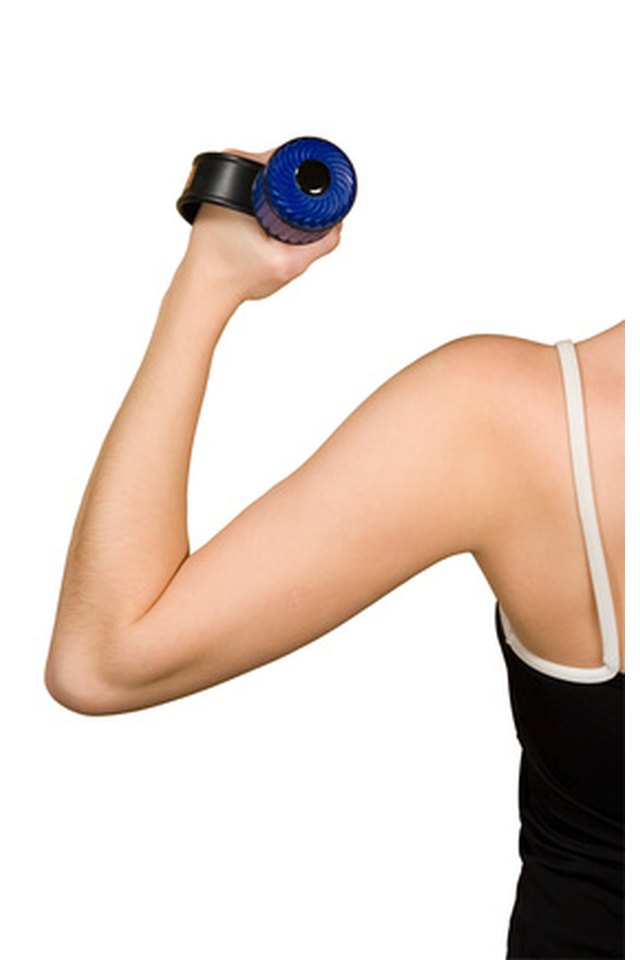
Perform the exercise, counting each repetition when you complete a full motion. If you are doing push ups, lowering yourself to the floor and pushing yourself back up equals one repetition. The same holds true for any exercise. A repetition is simply starting the exercise and returning to the starting position.
Finish the exercise and immediately record the repetitions in your notepad. It is easy to forget how many you did, especially if you have already completed several exercises, so do it first thing to keep accurate count.
Store each workout log. Eventually, you can compare records from different workouts and see which exercises show improvement and which exercises may need to be cut or re-purposed.
Tips
Always add a date to your training log so you can track your progress over time.
Bring a stopwatch, wrist watch or cell phone and record how long each exercise takes. This will help you see when you lose energy and slack off.
References
Tips
- Always add a date to your training log so you can track your progress over time.
- Bring a stopwatch, wrist watch or cell phone and record how long each exercise takes. This will help you see when you lose energy and slack off.
Writer Bio
Mark Swedberg began writing in 2005. His work has appeared online at Pro Dreamers, Chocolate Hobby and Auction Alerts. He has been involved in fitness training since 2007, working as a personal trainer, varsity soccer coach and martial arts instructor. Swedberg studied cinematography, physical performance and entrepreneurship at the University of North Dakota.