


At our sleep disorders page, we understand that getting a good night's sleep is essential for overall health and well-being. We offer a variety of resources to help you better understand various sleep disorders, including information on symptoms, causes and treatments.
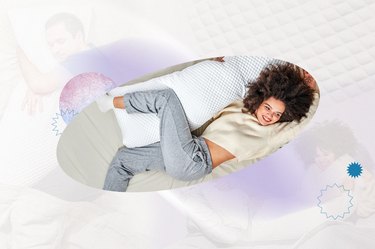
Our team of medical experts provides in-depth articles on how to improve sleep hygiene, such as setting a regular sleep schedule, avoiding stimulants before bed and creating a comfortable sleep environment. We also offer advice on when to seek medical attention, as well as information on various medical treatments that may be available.
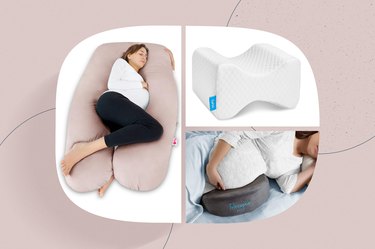
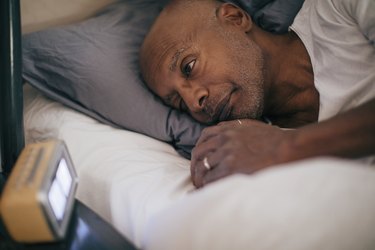
Whether you are dealing with insomnia, sleep apnea, or another sleep disorder, our sleep disorders page has something for you. We offer practical tips for improving sleep quality, advice on when to seek professional help and information on various sleep aids and treatments."