


Medical emergencies can happen anytime, which is why we have compiled a comprehensive library of articles on basic first aid procedures and safety tips at our first aid and safety page.
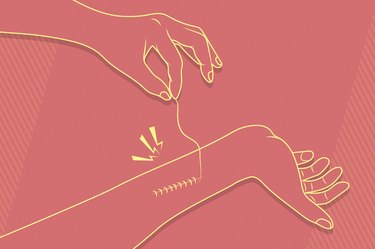
Our team of medical experts provides in-depth articles on how to respond to various medical emergencies, such as bleeding, choking and seizures, as well as how to perform CPR and use an automated external defibrillator (AED).
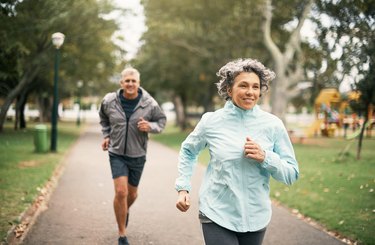
We also offer advice on how to stay safe in different settings, such as at home, at work and during outdoor activities. Our safety tips cover a range of topics, including fire safety, electrical safety, water safety and sun safety.
Whether you are looking to become certified in first aid or simply want to feel more prepared in emergencies, our first aid and safety page has something for you. We offer practical tips for responding to emergencies, advice on how to create a first aid kit and information on training and certification programs."