


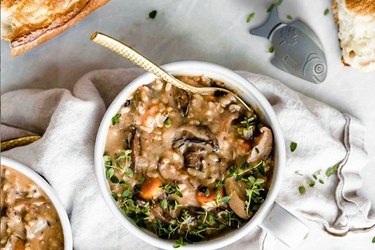
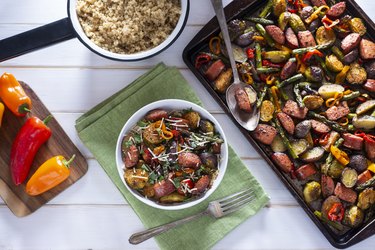


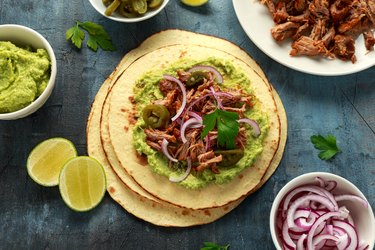


At our cooking and baking page, we understand this activity can be enjoyable and rewarding, but also overwhelming for some. We offer a variety of resources to help you create delicious, healthy and easy-to-make meals and treats.
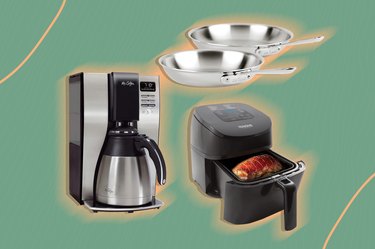
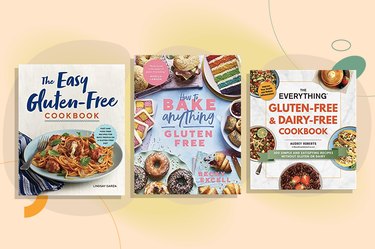
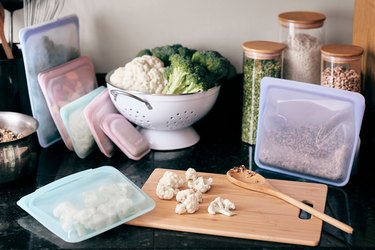
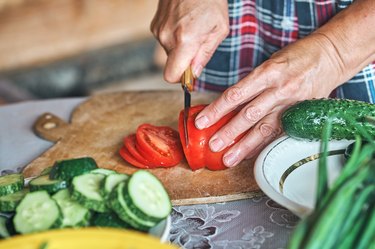
Our team of culinary experts provides in-depth articles on specific recipes, as well as general information on cooking and baking techniques. We also offer advice on kitchen equipment and pantry staples and tips for cooking and baking with specific dietary needs in mind.
No matter if you're an experienced cook or a beginner, our cooking and baking page has something for you.